Let's take a break from my cards and have a look at a video that Stampin' Up! has put out on masking. I have shown you how to mask with sponging and ripped paper over the last few days, but this is something a bit different. So rather than reinvent the wheel by creating one myself, take a look at this video and be impressed.
Please note that the Blendabilities that are being used in this video have been withdrawn due to manufacturing issues. Also if you want this stamp set then today is the last day to order it. It is a FREE stamp set from Sale a Bration and can only be earned by spending $90. So don't miss out if you want it. Hop on over to my online store and be quick about it.
Let's Start at the Very Beginning links

Tuesday, March 31, 2015
Let's start at the very beginning - Day 18
We did some masking way back on Day 13, now we are going to mask again but this time using a mask that we have created by punching out. Grab yourself a post-it-note and punch the flower. Place over the card front and sponge in all three colours, be careful to not sponge past the post-it-note.

Move the post-it-note to another area and sponge again. I did this randomly over the front of the card.


Now that you have sponged the background, sponge some scraps of Whisper White card in all the three colours, stamp them using your preferred flower, in Soft Suede and punch out. I started out with just 3 but had a slight mishap with ink so had to cover it up hense 2 more sponged and punched out.
What do they say about mistakes...
There is no such think as a mistake just and opportunity for creativity. I hope it worked.

Let's Start at the Very Beginning links
Now that you have sponged the background, sponge some scraps of Whisper White card in all the three colours, stamp them using your preferred flower, in Soft Suede and punch out. I started out with just 3 but had a slight mishap with ink so had to cover it up hense 2 more sponged and punched out.
What do they say about mistakes...
There is no such think as a mistake just and opportunity for creativity. I hope it worked.
Let's Start at the Very Beginning links
Monday, March 30, 2015
Returning Favourites
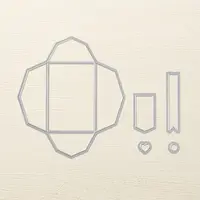
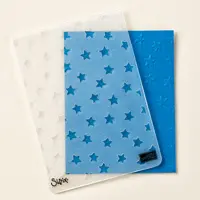
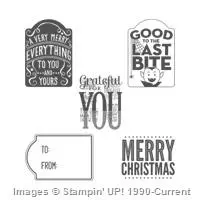
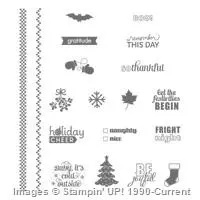
Each year Stampin' Up! brings out the Annual Catalogue and then through the year we have mini catalogues to mark the seasons. Out of these mini catalogues come some great stuff and Stampin' Up! recognises that we love certain products so much that they bring them back. These are the returning products that Stampin' Up! has decided we can't do without.
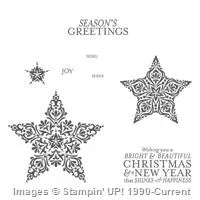
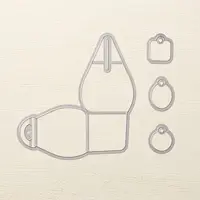
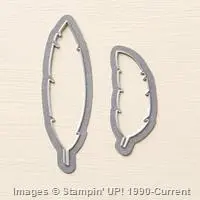
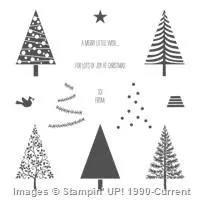
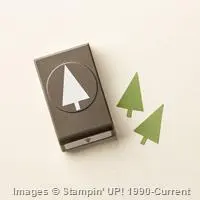
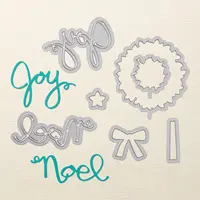
I love the Confetti Stars Punch, Curvy Keepsakes Thinlit, and really love the Festival of Trees Photopolymer stamp set and coordinating Tree Punch. What more would you need to make some great Christmas cards. Take a look and see if there are any you can't do without and if there is head on over to my Online Store or email me.
I love the Confetti Stars Punch, Curvy Keepsakes Thinlit, and really love the Festival of Trees Photopolymer stamp set and coordinating Tree Punch. What more would you need to make some great Christmas cards. Take a look and see if there are any you can't do without and if there is head on over to my Online Store or email me.


Let's start at the very beginning - Day 17
Let us continue on with the fussy cutting and try a new technique to stamp. This technique is called Rock and Roll. Basically you ink up your stamp in one colour and then rock and roll the stamp around another ink pad colour. My only suggestion is to start with a light colour as you don't want to contaminate your ink pad with another colour. I used the Daffodil Delight and rocked it around the Melon Mambo.
The rest of the card is just the same as Day 15 and the Fussy cutting.

Let's Start at the Very Beginning links
The rest of the card is just the same as Day 15 and the Fussy cutting.
Let's Start at the Very Beginning links
Sunday, March 29, 2015
Let's start at the very beginning - Day 16
If you have been following along with me over the last days and haven't yet bought any of the products. Jump in quick if you want some free stuff because it will all be gone on the 31st March. Sadly that is the end of Sale a Bration for another year. This has probably been the best Sale a Bration promotion ever, there has been such a variety to choose from and then more got released and then even more got released.
 Let me recap over the products that I have used over the last few weeks.
The very basic kit
Let's Start at the Very Beginning links
The very basic kit
- Snail adhesive $12.00 id#104332
- Stampin' Dimensionals $6.00 id#104430
- A4 Whisper White card stock $15.75 id#106549
- A4 Brights card stock pack $14.00 id#131282
(20 sheets, 2 of each colour) - Soft Suede Ink Pad $11.50 id#126798 (I would choose an extra colour, but we are doing basic)
- Wetlands Stamp Set wood $38.00 id#26695 clear $30.00 id#126697
(if you buy clear, you will need to purchase acrylic block D $14.00 id#118485, I personally like using clear stamps as you can see where you are placing them) - Stampin' sponges $6.00 id#101610
- Neutrals card stock $14.00 id#131283 (20 sheets, 2 of each colour)
- Daffodil Delight Stamp Pad $11.50 id#126944
- Melon Mambo Stamp Pad $11.50 id#126948
- Sassy Salutations Stamp Set Wood $41.95 Clear $33.95 (Unfortunately this lovely stamp set is now retired)
- Flower Shop stamp Set Wood $42.00 Clear $34.00 If you have already got the Acrylic Block D then you are fine.
- Pansy Punch $28.00 id#130698
- Stampin' Trimmer $50.00 id#129722
- Paper Snips $17.00 #id 103579
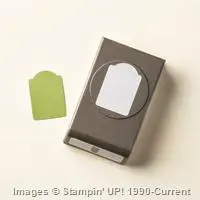
- Tag Topper Scallop Punch $38.00 #id 133324
- Extra large oval punch $29.95 #id 119859 (Unfortunately this punch is now retired)
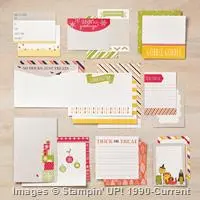
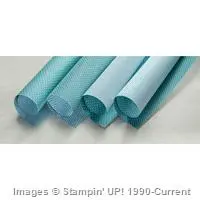
- Moonlight Designer Series Paper Stack $11.95 #id133701
Let's Start at the Very Beginning links
Saturday, March 28, 2015
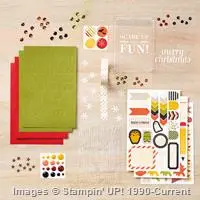
Bonus Bundles coming soon...
What's better than coordinating products? Getting coordinating products
at a discount! From 1-17 April, Stampin' Up! is offering five bonus bundles at 15
percent off.
Check out the bundles right now and if any of these bundles appeal let me know.
Check out the bundles right now and if any of these bundles appeal let me know.
Let's start at the very beginning - Day 15
Fussy cutting!
What are you talking about?
We see it all over the web but what is it? It is simply using a very sharp pair of scissors and cutting closely around the edge of an image or a piece of fabric. With Stampin' Ups paper snips, fussy cutting is very easy and the results can make a beautiful embellishment to a card or scrapbook page. Even artwork can have elements that are fussy cut. I created this canvas for a special display recently. The leaves and the trees were fussy cut.

With your new stamps and snips I will show you how to create a lovely card that anyone would be happy to receive.

Firstly draw a fine curving pencil line to be a guide as you stamp.

Stamp along this guide line, some of the petals should extend over the line to add a bit of interest.

Now is time to fussy cut. Cut around the petals leaving a small edge of white.

Stamp a few flowers on the Whisper White card scrap and punch them out. These are then added to the card with dimensionals. Stamp a sentiment and there you have a lovely card to add to your collection and now you now how easy it is to fussy cut.

Let's Start at the Very Beginning links
What are you talking about?
We see it all over the web but what is it? It is simply using a very sharp pair of scissors and cutting closely around the edge of an image or a piece of fabric. With Stampin' Ups paper snips, fussy cutting is very easy and the results can make a beautiful embellishment to a card or scrapbook page. Even artwork can have elements that are fussy cut. I created this canvas for a special display recently. The leaves and the trees were fussy cut.
With your new stamps and snips I will show you how to create a lovely card that anyone would be happy to receive.
Firstly draw a fine curving pencil line to be a guide as you stamp.
Let's Start at the Very Beginning links
Thursday, March 26, 2015
Let's start at the very beginning - Day 14
The next few days will be used to prepare more cards for you and it will also give you a chance to order more product if you are following along with me. It is time to invest in a really good pair of Paper Snips and Stampin' Up! has that covered.
I think it is now time to get a couple more punches and over the next few days I will be preparing samples using the items I am now suggesting.
Let's Start at the Very Beginning links
I think it is now time to get a couple more punches and over the next few days I will be preparing samples using the items I am now suggesting.
- Paper Snips $17.00 #id 103579
- Tag Topper Scallop Punch $38.00 #id 133324
- Extra large oval punch $29.95 #id 119859 (Sadly this punch is retired)
- Moonlight Designer Series Paper Stack $11.95 #id133701
Let's Start at the Very Beginning links
Weekly Deals 25th March - 1st April
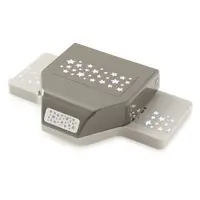
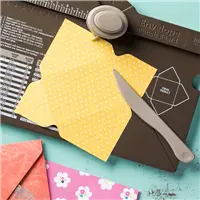
Wow what a great lot of deals this week and the Envelope Punch Board wowie!! My favourite Stampin' Up! tool, but then people that know me already know that I find this tool the most versatile tool.
Wanting to order any of these then head on over to my online store or email me with your order.

Subscribe to:
Posts (Atom)